Showing posts with label calligraphy. Show all posts

Tuesday, April 26, 2011

DIY Calligraphy: The Result

This whole calligraphy thing seemed a bit daunting to me.  In true form, Mamabean told me I should just hire someone.  She's of the opinion that if there's someone out there who gets paid to do something, you shouldn't do it yourself.  That's all fine and dandy for her and all.  But reality check:  we're on a budget!  And as I've said, people are just going to throw these envelopes away.  So, DIY it is.

I started off with the essentials.  My fountain pen with additional nibs, some plain paper, a pencil, ruler, and a good eraser.  


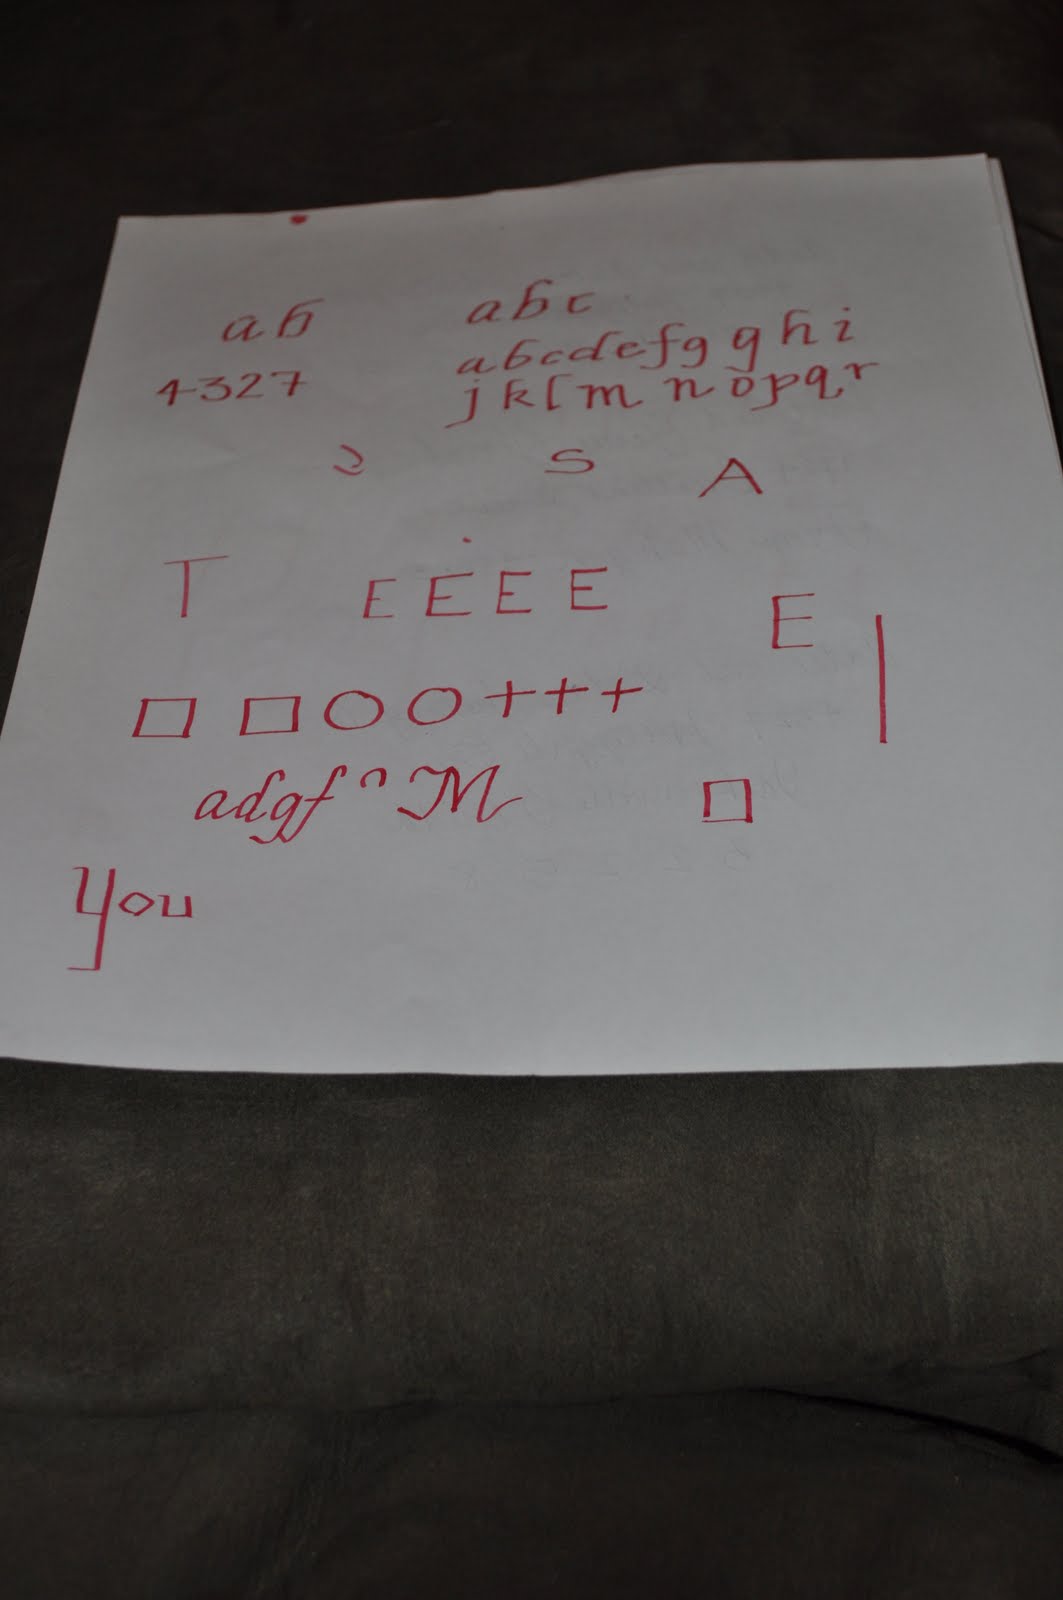
Then I started attempting Italics.  My pen set came with a few different ink colors so I started playing with red, since I thought I wouldn't use it on the actual envelopes.  My attempts looked a little something like this:


 And this...


Oh yes, and this:  


Watch out!  I'm getting fancy here.

So after practicing for awhile, I thought I could start tackling some plain white envelopes.  I don't have photos to show you, but let's just say that I went through quite a few before I was ready to start on the nice envelopes that matched our STD's. 

After what felt like a really long time and a lot of practicing, I finally started on my first envelope.  I started off by drawing lines on the envelope in pencil.  I did 7 lines starting 1 1/2 inches down from the top.  The lines were 3/16 of an inch apart, since I was using a fine fountain pen.  This distance changes based on the type of nib you choose. 

The 3/16 inch distance is basically to determine how large your lowercase letters are.  Letters like a, c, m, n, s all should fit in that space.  Letters like b, d, and p will have their "tails" above or below this line.  Uppercase letters end up taking up almost 6/16 inch, so two spaces. 

After drawing my lines lightly, I slowly started on my first envelope.  And I think it turned out pretty good!  After erasing the lines, the envelope looks like this. What do you think?


Could be better, but not bad for my first attempt! 

Since then I've done about 50 envelopes and let me tell you, my hand is hurting!  Each envelope takes a lot of time, a steady hand and lots of patience.  But after awhile, here's where I am.  I'm still learning, but I think I'm getting better!


What do you think??  Are you ready to tackle your own DIY calligraphy now?  

Sunday, April 24, 2011

Calligraphy: Which Pen to Choose?

This is my first major embarkment into DIY territory so I hope you've got your seatbelts fastened!  We ordered the STD magnets from vistaprint.com and they came in last week (Yay!!).  Now, I had already decided that I wasn't going to hire a calligrapher.  I think they charge WAY too much money, and honestly, if my wedding guests are anything like me, they're just going to throw the envelopes out.  So I decided to DIY.


I took a trip to one my new favorite stores since I started wedding planning, Hobby Lobby.  There I purchased the following items:

1.  A fountain pen with different sized nibs and 4 different ink colors.  
2.  A Calligraphy book
3.  Some other random wedding things that have nothing to do with this post. :)

The book I bought has been immensely helpful and if you're looking to do some simple calligraphy, I would recommend it.  If you're looking for more detailed, elaborate calligraphy it's probably not the book for you. 


They also sell it on amazon.com so you can read more reviews and maybe get it used.  It's called "First Steps Calligraphy" by Don Marsh. 

The pens I purchased were pretty basic pens.  From what I've read there's some pros and cons to the most common types of pens.  There are others such as the reed pens and quill pens but these are much more advanced and they're a little bit beyond my DIY capabilities.   

Dip Pens (This is overall the best quality, but also the most advanced)
Pros: 
There's a large variety of nibs available for this type of pen.
You aren't limited as far as ink goes.  There's a lot of different inks available for dip pens.

Cons: 
More difficult to learn.
More difficult to control than fountain pens or markers.

Fountain Pens
Pros:
You don't have to pause to reload the pen so it's easy to maintain the smoothness of calligraphy.
More portable than Dip Pens.

Cons:
Limited variety of ink types.
Limited nib sizes.

Markers
Pros:
Easy to use.
The most inexpensive option

Cons:
Inaccurate definition.
Very limited size and color range.
Limited use. 


After weighing the pros and cons, I decided on the fountain pen because it's less maintainence and much easier to learn and control. 

Next up, more DIY Calligraphy!