This whole calligraphy thing seemed a bit daunting to me. In true form, Mamabean told me I should just hire someone. She's of the opinion that if there's someone out there who gets paid to do something, you shouldn't do it yourself. That's all fine and dandy for her and all. But reality check: we're on a budget! And as I've said, people are just going to throw these envelopes away. So, DIY it is.
I started off with the essentials. My fountain pen with additional nibs, some plain paper, a pencil, ruler, and a good eraser.

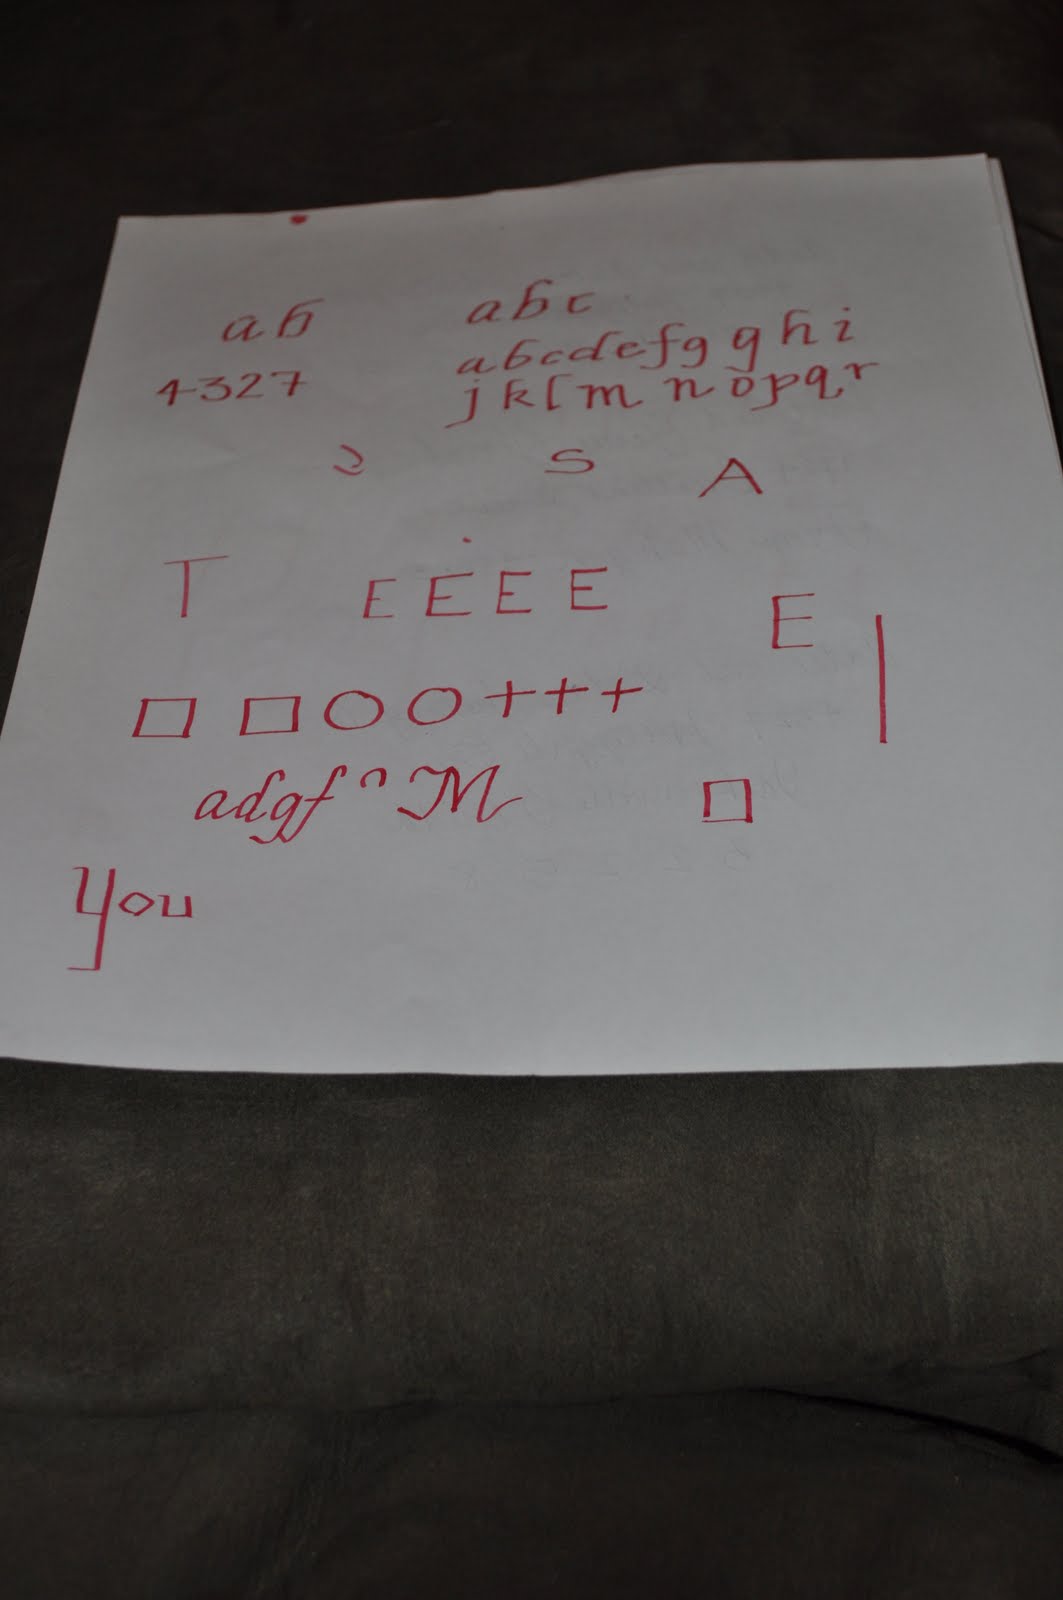
Then I started attempting Italics. My pen set came with a few different ink colors so I started playing with red, since I thought I wouldn't use it on the actual envelopes. My attempts looked a little something like this:

Oh yes, and this:

Watch out! I'm getting fancy here.
So after practicing for awhile, I thought I could start tackling some plain white envelopes. I don't have photos to show you, but let's just say that I went through quite a few before I was ready to start on the nice envelopes that matched our STD's.
After what felt like a really long time and a lot of practicing, I finally started on my first envelope. I started off by drawing lines on the envelope in pencil. I did 7 lines starting 1 1/2 inches down from the top. The lines were 3/16 of an inch apart, since I was using a fine fountain pen. This distance changes based on the type of nib you choose.
The 3/16 inch distance is basically to determine how large your lowercase letters are. Letters like a, c, m, n, s all should fit in that space. Letters like b, d, and p will have their "tails" above or below this line. Uppercase letters end up taking up almost 6/16 inch, so two spaces.
After drawing my lines lightly, I slowly started on my first envelope. And I think it turned out pretty good! After erasing the lines, the envelope looks like this. What do you think?

Could be better, but not bad for my first attempt!
Since then I've done about 50 envelopes and let me tell you, my hand is hurting! Each envelope takes a lot of time, a steady hand and lots of patience. But after awhile, here's where I am. I'm still learning, but I think I'm getting better!

What do you think?? Are you ready to tackle your own DIY calligraphy now?
Wow I am really impressed with your handwriting. Mine would look like a 7 year old got into Mommy's pens. That looks fantastic.
ReplyDelete